Wednesday, 26. June 2025
Installing *BSD in 2025 part 4 - A critical look at DragonFly BSD's installer
[This article has been bi-posted to Gemini and the Web]
The first part of this series was about FreeBSD's installer, the second one about OpenBSD's and the third covered NetBSD's installation program.
DragonFly BSD is clearly the one of the four "main" BSD operating systems, that I'm least familiar with. Not because I think it's bad or don't like its design decisions or goals. Also certainly not because it's the least popular one. Well, at least not directly. Indirectly it's probably related to the latter after all: VMs are nice for some things, but I prefer installing OSes that I want to dig into on real hardware. For DragonFly BSD the range of supported hardware is somewhat narrow - and over all these years that I tried to get a DragonFly system running properly, I haven't had much luck in that regard.
Oftentimes I've indeed been unable to even install the system as the installer threw errors at me. But when it is able to start up properly, it's easily among the best I've used in terms of UX. Like in the previous articles of this series, I'm going to install the OS twice - once using the standard video console and once over serial.
The version used here is _DragonFly BSD 6.4.2_ on _amd64_ (which is the only supported platform since DragonFly dropped i386 support many years ago).
A little bit of background
The installer that DragonFly BSD uses is called _BSD Installer_. While I'm also referring to it as "DragonFly's installer", it originally had a bigger scope. Developed by the DragonFly team as a replacement of FreeBSD older installation program (that is _sysinstall_), BSD Installer was not exclusive to DragonFly BSD but was adopted by pfSense as well. OPNsense, a fork of the former, also used it initially. Eventually it was replaced with FreeBSD's newer installer, _bsdinstall_, because the project wanted to support Root-on-ZFS and it was easier for them to adopt an installer which could already do this than to integrate the new functionality into BSD Installer.
The team behind the installer made some interesting design choices like splitting it into a backend and multiple (yes!) frontends. You've probably only ever seen the ncurses based one, but historically there at least has been a CGI based frontend, too. BSD Installer as a (semi) independent project vanished over a decade ago, but thanks to the Internet Archive, it's possible to have a look at what the CGI frontend looked like:
It seems that work was done to add more features to BSD Installer to make it on-par with sysinstall so FreeBSD 9.0 could finally replace their unloved installer. The FreeBSD project did just that for 9.0 - but that release shipped with bsdinstall, which was a new installer not related to BSD Installer. Ironically, the early releases of bsdinstall were _vastly_ inferior to the old sysinstall!
I don't know the full history behind why BSD Installer was never adopted by FreeBSD and thus one interesting opportunity to collaborate across projects didn't happen. Outside of DragonFly, the project (which even supports automated installations via a "pre-flight installer" configuration!) sunk into relative obscurity. But how well does it do its job on the one OS that still uses it?
Installing DragonFly BSD
Unlike OpenBSD and NetBSD, DragonFly BSD does not include X11 or a desktop environment by default, similar to FreeBSD. It also lacks complex storage options. I'll still try to use the two installations that I'm going to do to show off some of the different paths that you can take. But they will still be somewhat similar compared to what I did in the previous three articles. For the first installation I'm aiming for a "standard" system.
Booting from a DragonFly BSD installation medium will not bring up the installer by default. Instead when the system finishes booting, the user gets the login prompt. A hint suggests to log in as user 'installer' to begin the installation. There's nothing wrong with this approach, but I'd prefer the installer to launch automatically, as it allows exiting to a live system.
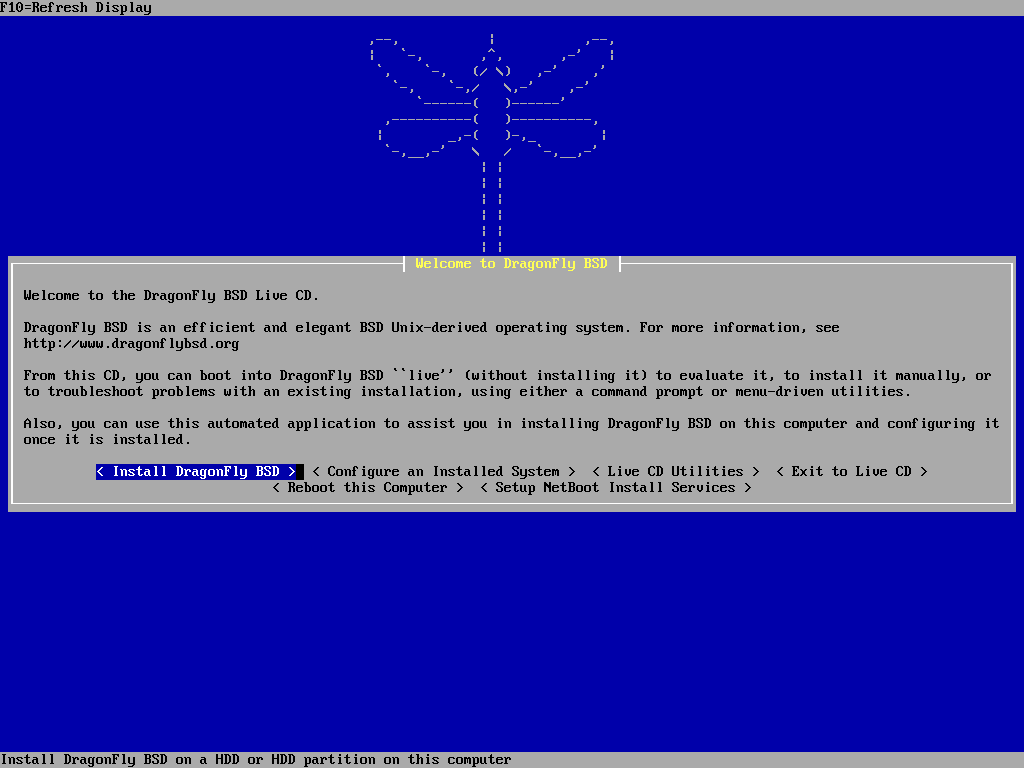
After launching the installer, it first displays a welcome message and a menu with a couple of options. In my opinion the last sentence is a bit weird: "this automated application"? It probably stems from the fact that the installer _does support automation_. For a newcomer to the DragonFly installer however it's confusing at best and I would suggest changing it.
The menu options however are excellent and the NetBoot setup one in particular is a really neat and innovative idea!
Even though I absolutely love the idea behind this, I'm not entirely clear on how it functions. There should be an F1 help page on this one, seriously! The text mentions a fixed address of 10.1.0.1/24 which made me guess that enabling the services will provide the whole stack required for PXE booting including a DHCP server, TFTP and probably NFS?
I took a look and exactly that is the case. They still utilize ISC's DHCPd, which reached end-of-life in 2022 and would ideally be replaced with Kea. However that isn't even the main problem that I have with it. What if that address range is already in use within the organization? I haven't found a way to specify a different range.
However, this is a minor point. Alright, let's move on to the installation!
Performing a default installation
If the user chose to install the system rather than one of the other options (like the NetBoot setup), a message is displayed about the installer's limitations and that an installation should not be attempted before important data that might be on the disk has been backed up. The three options to continue with the installation, go back to the menu or to exit the installer are fine.
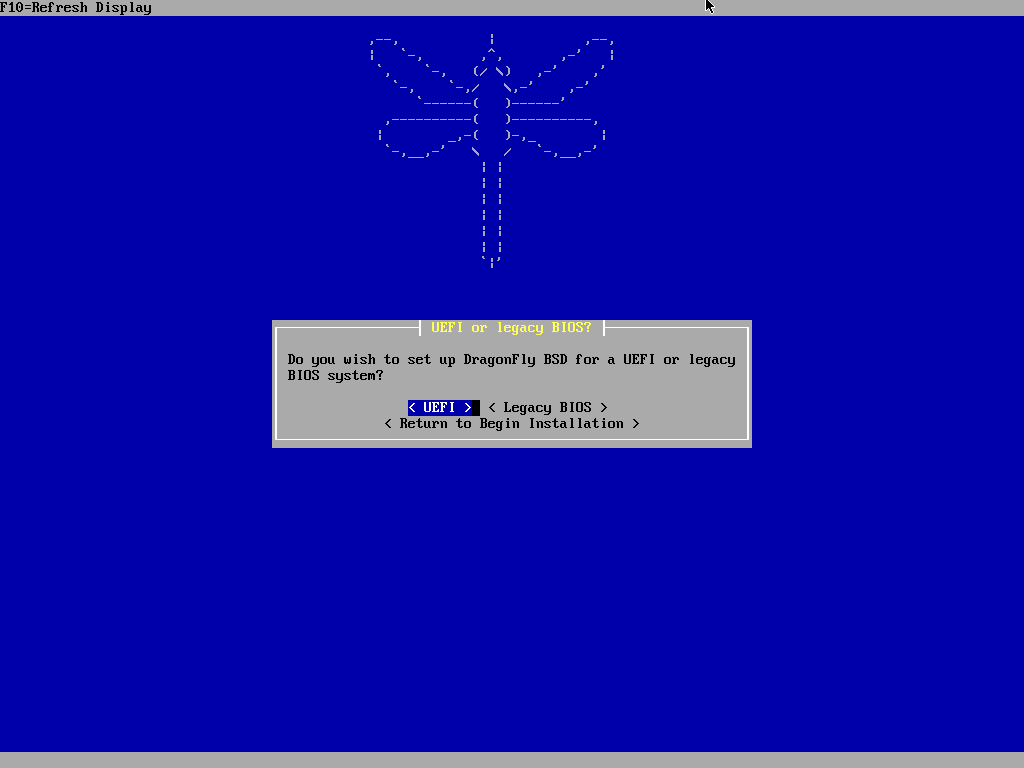
Continuing, the next dialog is about the desired type of booting. Older hardware might only support legacy BIOS booting while newer computers support UEFI (sometimes exclusively). It's nice that the installer simply asks this question and decides on the partitioning schema as well as the loader variant depending on the answer.
Yes, leaving it to the user is the more powerful approach and there's reasons for wanting to use BIOS+GPT rather than BIOS+MBR for example. But DragonFly BSD is a system that's mostly meant to be used on modern machines using modern means. So I guess it makes sense to prefer streamlining the installation process over trying to cover more exotic use cases. The latter require a manual installation which isn't impossible to do, either.
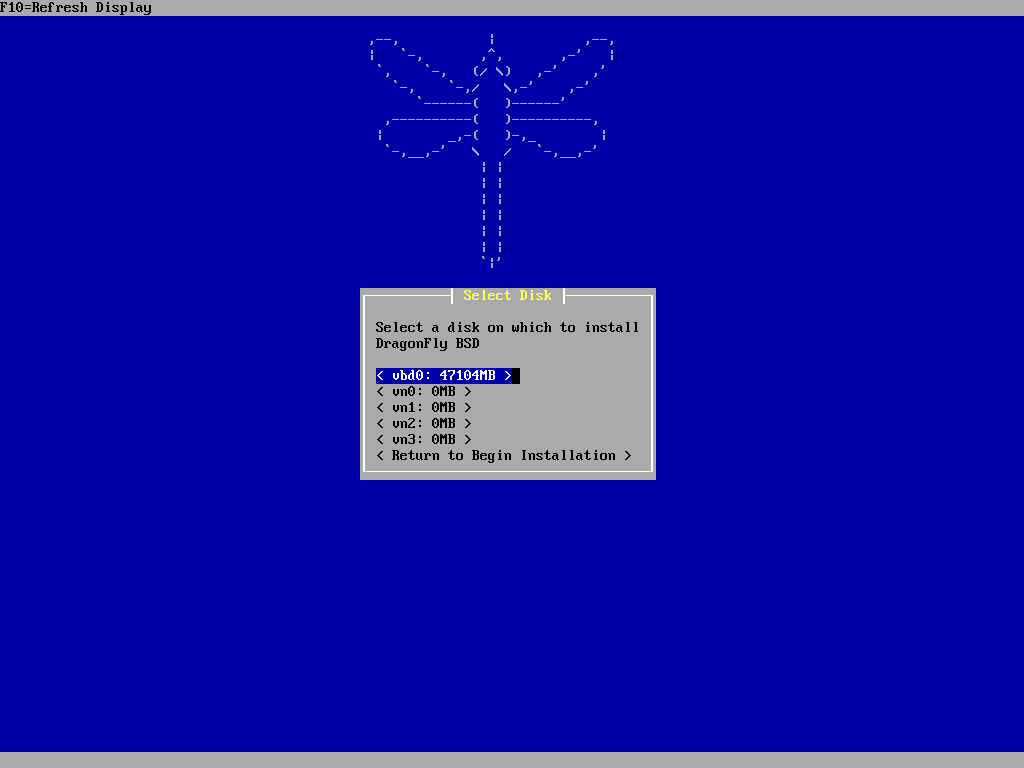
The next step is to select the disk to install the system on. I would suggest not listing the 0 MB _vn_ drives. They cannot be used as installation targets, anyway, so why list them in the first place?
After selecting the disk, an installer needs to display the obligatory warning about data loss due to changing the disk structure. The message is quite clear and works well here.
If the user chooses to proceed, the disk is modified and a confirmation message displayed that the drive was formatted. While feedback is good, I wonder if this warrants its own dialog window. Since there's no selection to make here and the user can just use the "OK" button, why not drop this one and put the information into the next dialog? I. e. "Disk XYZ was formatted. Please select the filesystem to use with DragonFly BSD." would work even better.
Well, and to offer my honest opinion, I don't think the term "formatted" is particularly well chosen here. At least I associate formatting with creating a filesystem - which has not been created, yet! I think it would be better to state that the disk was indeed _partitioned_. This was probably done back in the day when there was the common confusion between BIOS partitions and BSD disklabel partitions. But since a dialog window down the line speaks about _subpartitioning_, I'd say calling this step partitioning rather than formatting would be the better choice.
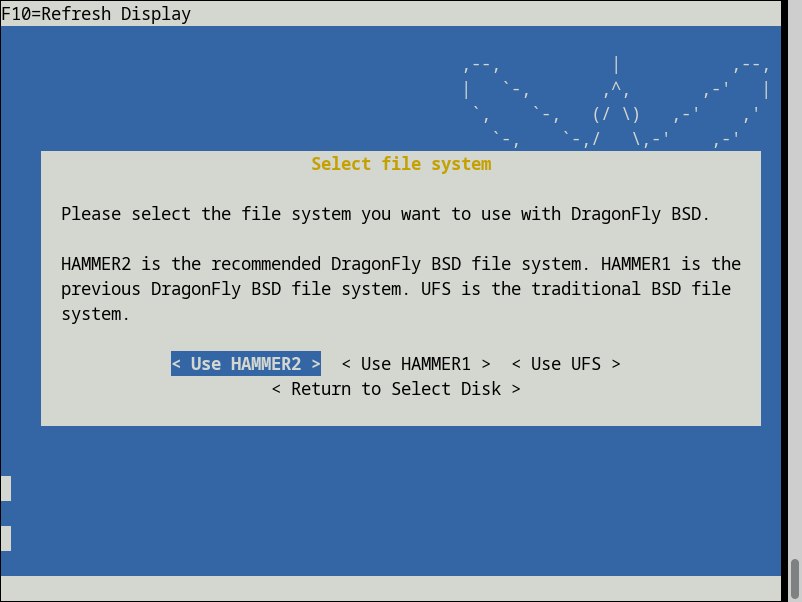
The FS selection dialog is a good one. It's very useful for newcomers that there's at least a short explanation about what HAMMER2 and HAMMER1 are, potentially giving people some guidance. Still I think this dialog could benefit from an additional F1 help text briefly explaining the _characteristics_ or use cases of the three options.
The subpartitioning is one of the steps where BSD Installer shines. The text is concise but gives all the required information and the mechanism to modify, add or delete additional subpartitions is done really well! I like this a lot and it's where a thoughtful approach to UX design pays off, delivering about as streamlined an installation experience as possible. Very well done!
It's nice that a help text is available about subpartitioning. However I don't think that the "speeding up" statement is particularly useful. In times where most people use flash memory based storage, it's obsolete. And even with spinning drives you had to know what you were doing. Without also discussing disk geometry, sector density and so on, this statement might actually confuse newcomers rather than inform them. Like making them believe having lots of subpartitions speeds up the system or something like that. IMO this is a candidate for revising.
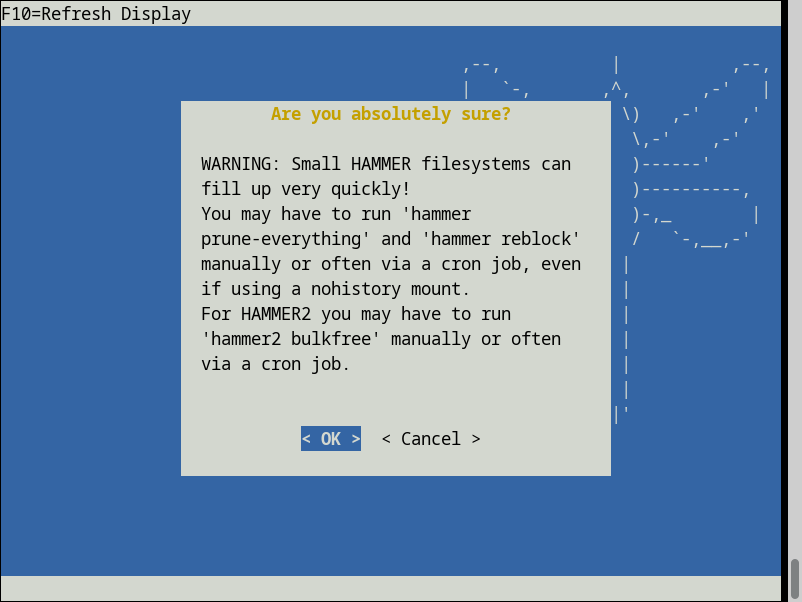
The warning dialog about using HAMMER on very small drives makes a lot of sense. It allows the user to reconsider and even in cases where they decide to go ahead, it's an informed decision. Also the pointers to tools that these users need to know about are valuable for newcomers to DragonFly BSD.
What I don't like is that the buttons are labelled "OK" and "Cancel". The latter sounds a bit like giving up on the installation. Based on what it does, "Return to Create Subpartitions" would be more accurate. Since the next dialog window uses that very label for a button which does exactly the same, making this change would also improve consistency.
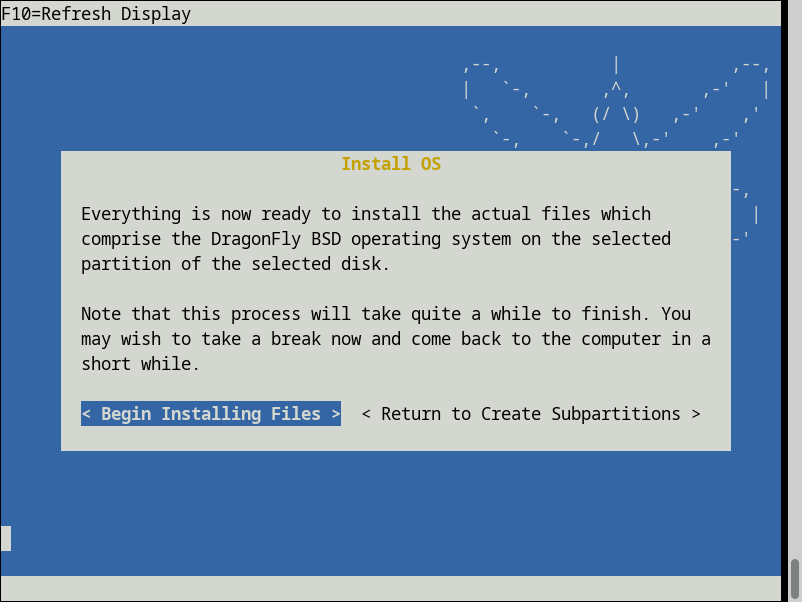
Next is a dialog window letting the user know that the actual installation can now start and that the process will take a while. It also gives you the option of going back to subpartitioning in case you changed your mind. This works well.
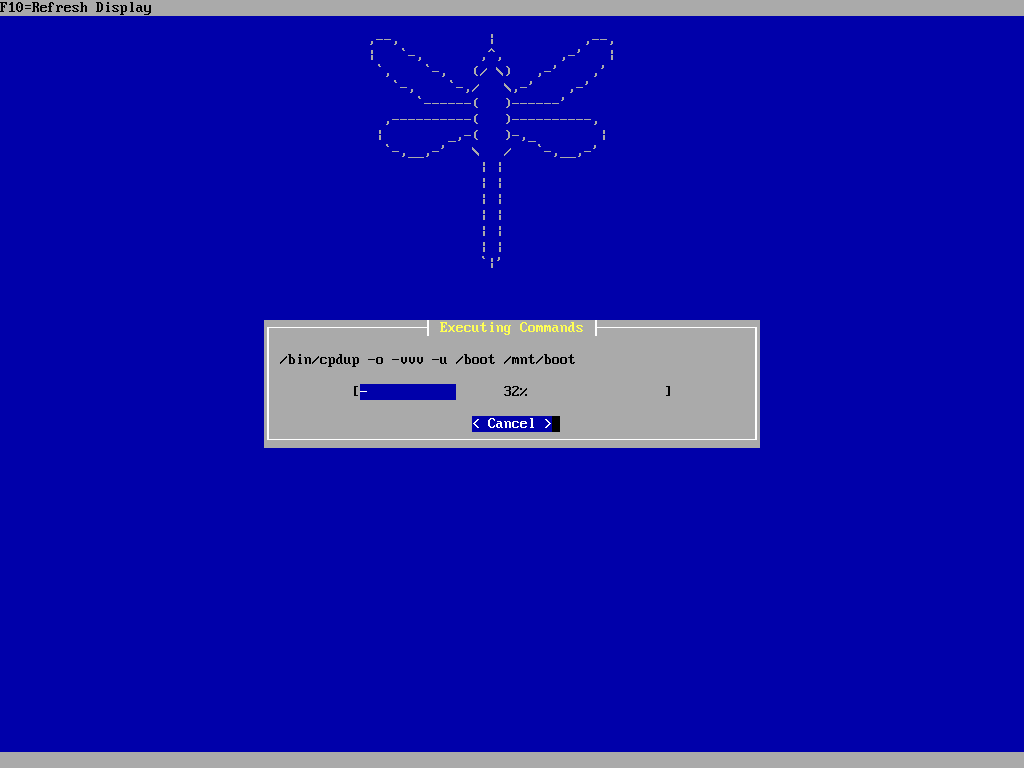
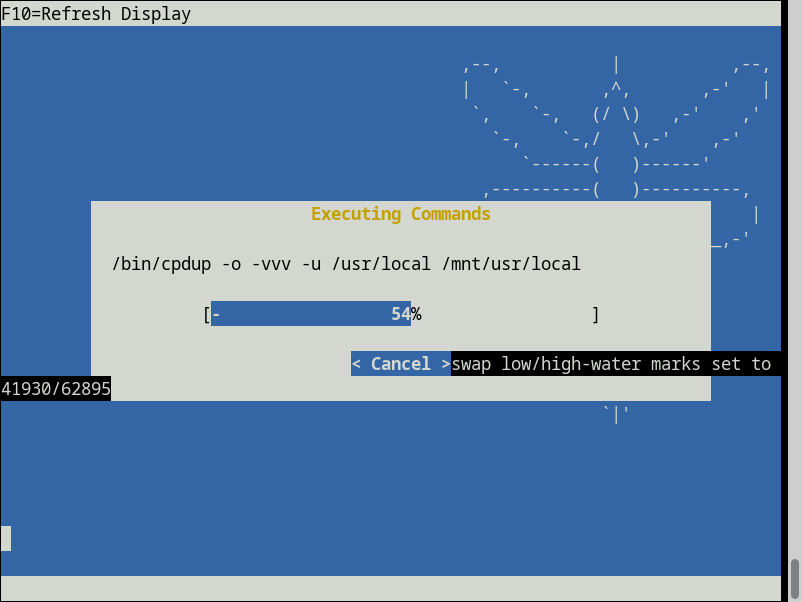
The installation process is about as simple as it gets: Various commands are executed (and displayed for people who are interested in what's happening) and there's a progress bar as well as a numeric representation in percent. A button gives you the chance to cancel the process if for whatever reason that's what you want to do. This is very well done, I cannot think of any suggestion to improve it further.
After all the files have been copied to disk, the installer displays an "installation complete" message. The three buttons to choose from - configuring the installed system, rebooting or returning to the main menu - are also good. Since configuring the system is what most people will want to do, it's the default option.
Post-installation configuration
BSD Installer offers nine menu items for post-installation configuration of the system, all of which are useful.
If the user opts to set date and time, the first question is whether this machine uses UTC time for the CMOS clock or not. This is the usual problem; while all sane operating systems do that, some people have to dual-boot Windows for any number of reasons. So it's probably a good thing to ask rather than just assuming UTC and have that other OS freak out! 😉
Next is selecting the time zone to determine local time. Unless you have special needs (and know what you're doing), you will probably want to select a continent here. But the installer provides the full list for the user to pick from.
After selecting a continent, a second level menu is displayed and the user can pick a city. This approach is fairly common and there's nothing wrong with it.
A confirmation message informs the user that the selected timezone has been set. I don't think this is necessary and would prefer the standard Unix approach here: No error means success! That would be one less relatively useless keystroke.
The next step is entering date and time information. Having all the input fields in one dialog window rather than separating date and time works really well.
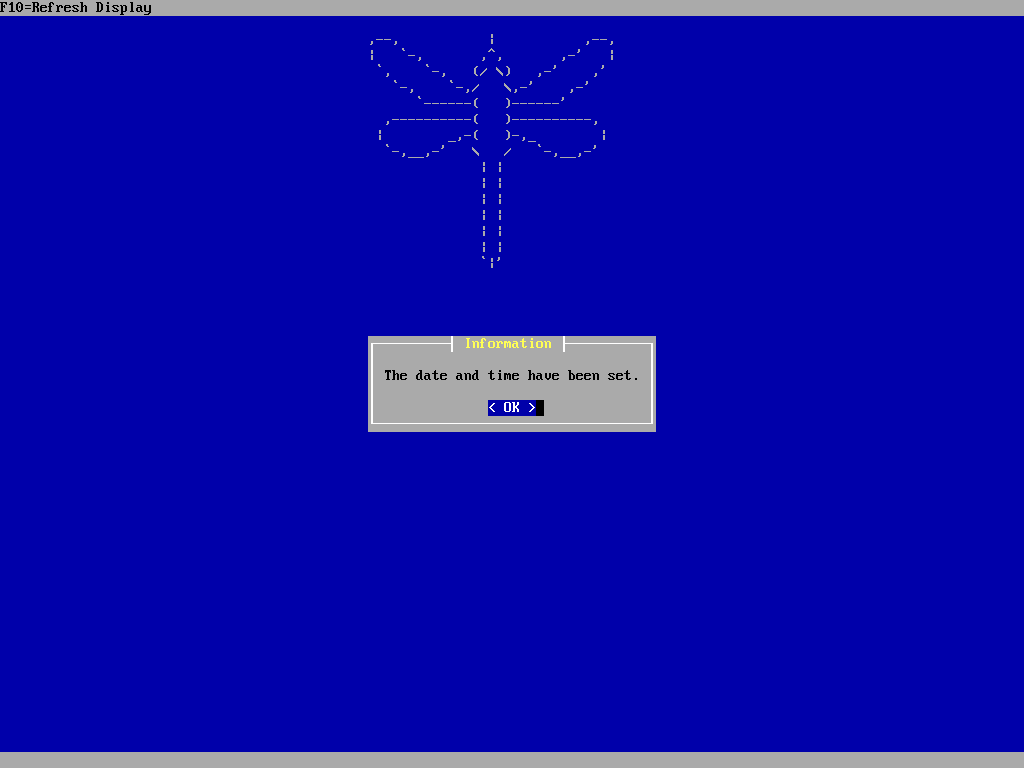
Then we have another confirmation message. This one however is even more worthless than the one about the timezone which at least mentioned _which_ one was set. My suggestion would be to get rid of the former entirely and revise this one. A summary that informs on whether the clock was set to UTC or local time, which time zone was set and what the current date and time is would be much more useful!
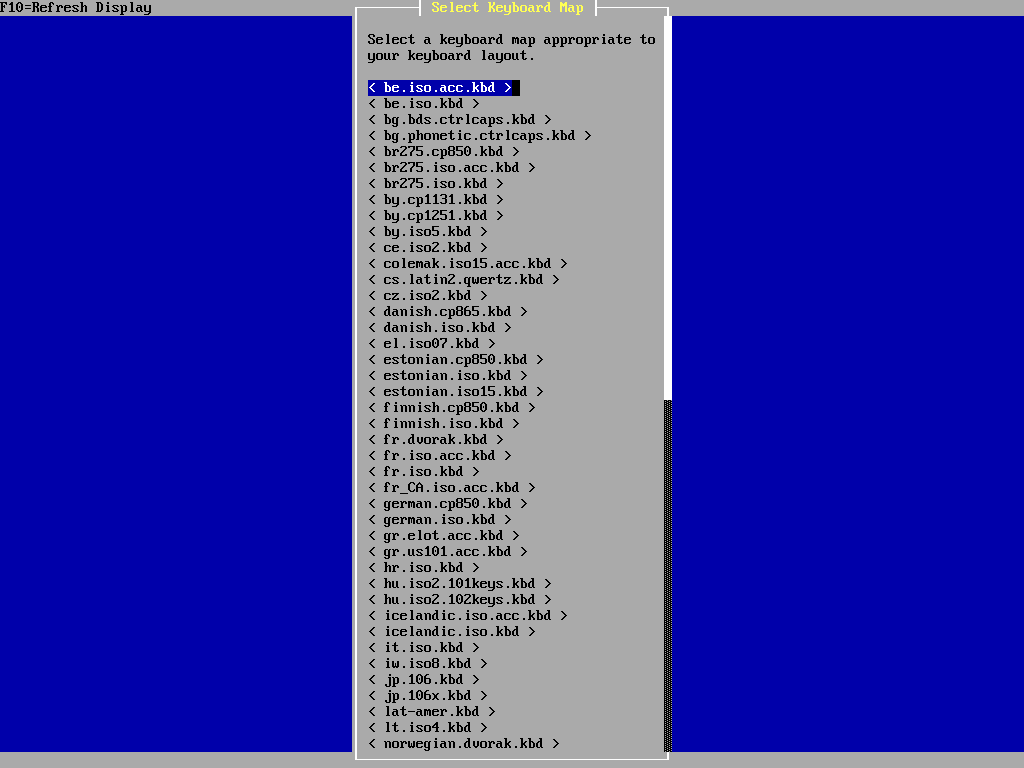
The next configuration option is the keyboard layout to use. There's a large list to choose from, but it's not very consistent. Why is it 'danish' and 'finnish' and not 'da' and 'fi'? Or the other way around: why is there 'cz' and 'jp' instead of 'czech' and 'japanese'? Either method would be fine, but why mix languages with language codes? I'm not complaining about variants like dvorak or colemak, but the inconsistency of the items in the keyboard layout menu really isn't pretty.
Next is setting the root password. The dialog window with the two input fields and two buttons works very well for this. Occasionally a checkbox for "show password characters" could be useful, but this is not a must-have at all.
Once the root password has been set, a confirmation message is displayed. Once again, while "explicit over implicit" does have its appeal in some situations, I don't think this is one of them. If I press a button that says "Accept and Set Password", I expect that exactly that happens. If there's an error, I want to be told about it, but confirming that the operation succeeded is a little pointless.
The "Add user" dialog window with its input fields is another great one. The text explains which fields can be left empty to accept the default values, which is very useful. As with most other BSD installers, I have to make the suggestion that a hint that a membership in 'wheel' is required to be able to _su_ to root. Also it wouldn't hurt to mention multiple additional groups are delimited.
As usual, after successful creation of the user, a confirmation message is shown. I'm still not a fan of the additional key press necessary to acknowledge this.
The next configuration option is a very important one: network configuration. First in the process is selecting the NIC to configure. Listing the loopback device 'lo0' here is pretty much pointless and I would suggest filtering it out.
Also I'm repeating here what I said when reviewing the other installers as well: It can be helpful to display the MAC address together with the interface name. Some servers have multiple NICs and when deploying a server OS in a datacenter, MAC addresses are very useful to tell NICs apart.
After that the user gets to select either attempting to autoconfigure the interface using DHCP or to configure it manually. Both options are for IPv4 only, so what I miss here is the opportunity to configure the system for IPv6.
Although I admittedly disable IPv6 on most of my machines, an increasing portion of the internet is now only accessible through this newer protocol. Also due to the scarcity of v4 addresses, those usually cost money with many hosting companies whereas you can get v6 ones for free. Providing network access is one of the fundamental tasks of post-installation configuration and IMO BSD Installer omits a _real_ must-have here.
This particular confirmation window after network configuration isn't particularly helpful. It shows some of the output of 'ifconfig' and tells me that an IPv6 link-local address is assigned to the NIC ("inet6"), but there's no trace of a v4 address! Also this message popped up rather quickly after selecting DHCP. The combination of the two makes me guess that this option only configured the system for DHCP but did not actually attempt to get an address!
This is pretty unusual as about every other installer that I know will test DHCP rather than assuming it would work. DragonFly BSD users probably know what they are doing, but still. This is also something that I would suggest letting the installer handle.
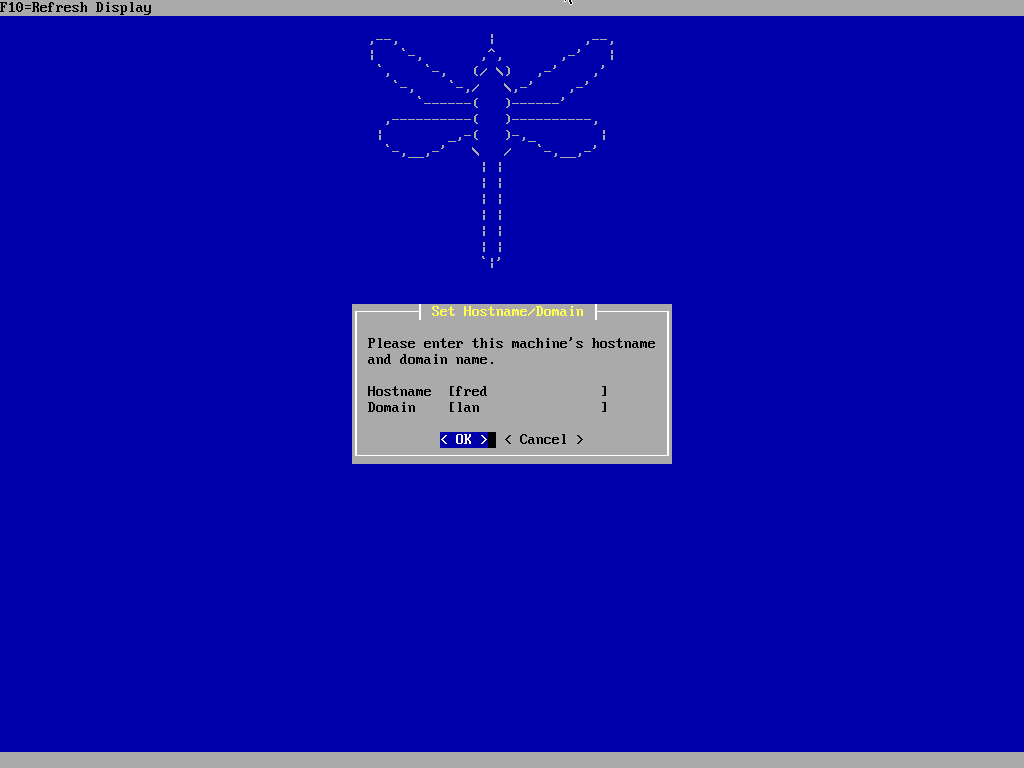
Setting the hostname and domain is done well. With the two input fields present there can be no wondering about whether the short or long form of the hostname (FQDN) is expected. Also having them both in the same dialog window is nice.
I tried to come up with a more creative hostname but couldn't think of anything that appealed to me. So I went with DragonFly BSD's mascot's name.
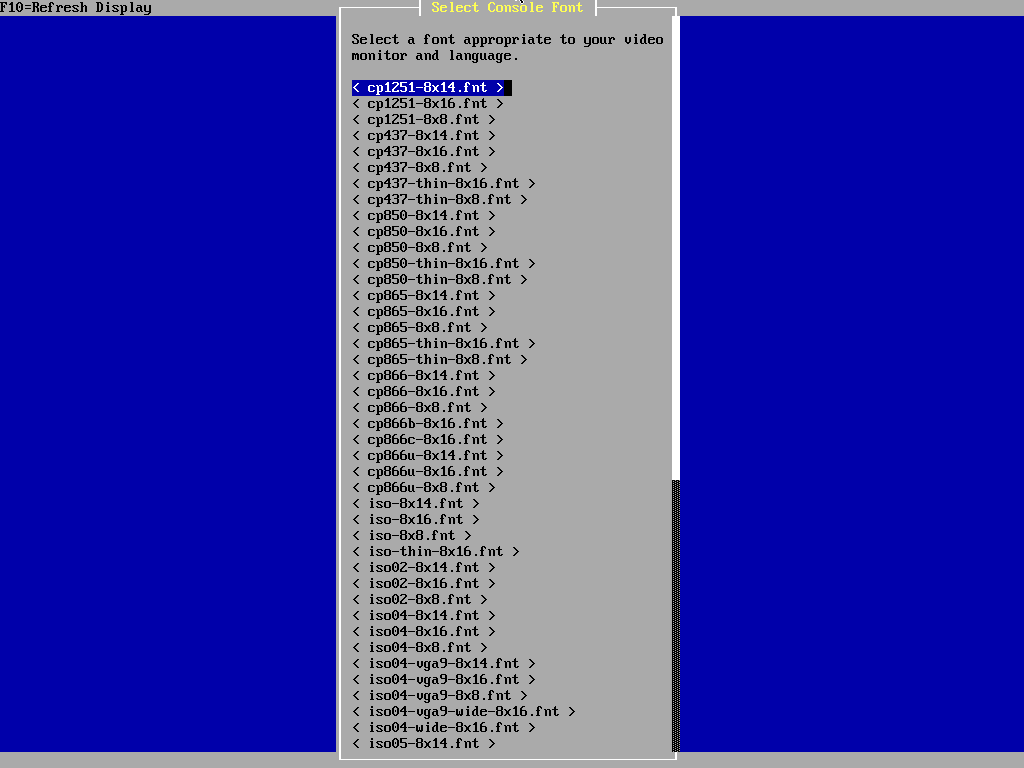
The next menu item is something that's not very common but can be useful nevertheless: Here you get to configure the console font for the fresh system. While most DragonFly BSD systems are probably accessed via SSH most of the time, sometimes you may want to work on the system console. And being able to configure the font for that using the installer is quite nice.
The same is true for the next one. You might not need this all the time, but some people want to configure their system to use a codepage that supports Cyrillic characters for example (KOI8).
Finishing the installation
And that's basically it. The last option takes you back to the welcome menu. A little detail: If you didn't notice that the changed console font took effect immediately, compare the following screenshot with the one from the beginning of the installation.
If you choose to reboot now, you get another dialog window reminding you to remove the installation medium after it has shut down. This is good advice.
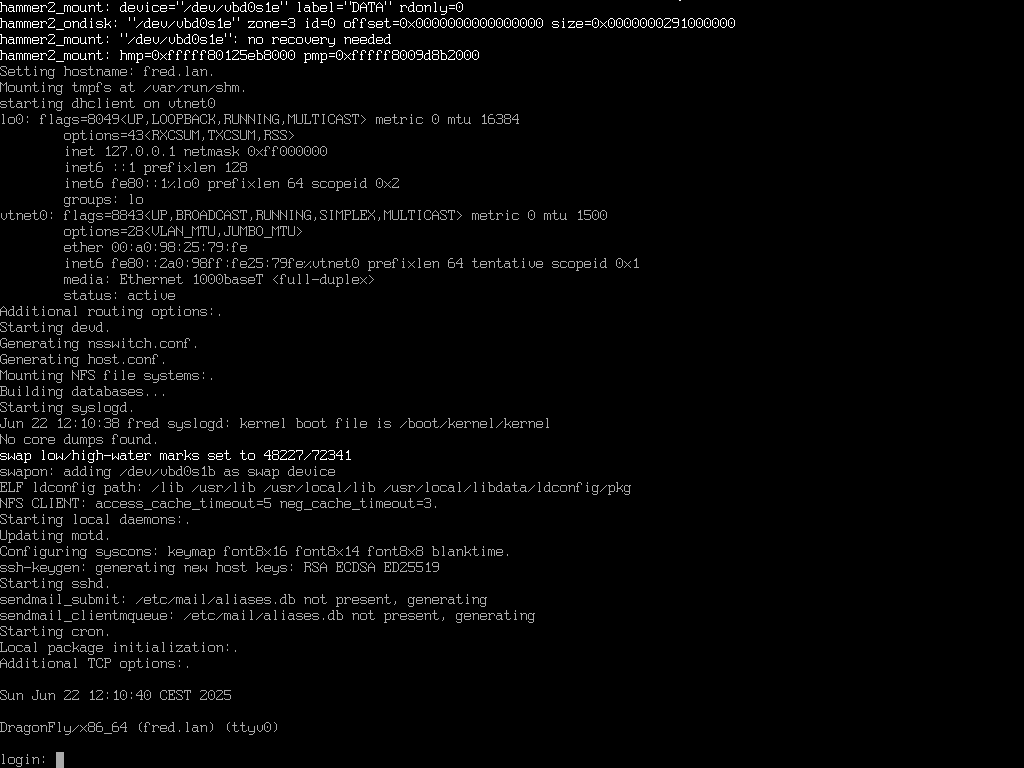
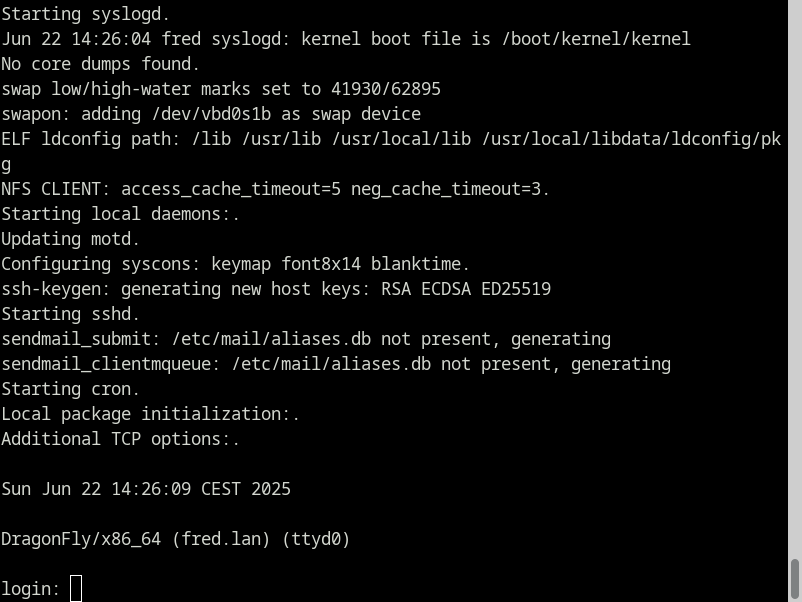
After the reboot you can see that the new system started up regularly, so the installation was successful.
Installation over a serial connection
After the standard installation succeeded, it's time to try and install a system over a serial connection (i. e. using _cu_ to connect to the virtual nullmodem device attached to the VM).
The kernel needs to be configured to provide output to the serial console rather than the default vidconsole. This can be done by escaping to the OK prompt of the boot loader and setting the console appropriately before booting.
Afterwards the boot process works just like before and when it finishes, the user is presented with a login prompt from which the installer can be started.
Since this is a serial connection, the user is asked about the terminal type before the actual installer starts. VT100 is a very conservative default here and mentioning a couple of other options probably wouldn't hurt. Then again - people who do installations over serial probably know what they are doing.
Exploring the live system
The welcome menu that we already saw during the first installation appears. Since I used a terminal size of 24 lines of 80 characters max, the window is quite big but fits without scrolling.
This time I decided to take a quick look at which live utilities are available before doing the actual installation. Selecting this option displays a dialog window with a concise description and a submenu of useful items: "LiveCD Environment", "System Diagnostics" and "Disk Utilities" as well as the option to exit the installer, reboot the machine or return to the main menu. The first one contains a typo - everywhere else it's usually written as "Live CD", with a space. But that's cosmetics, of course.
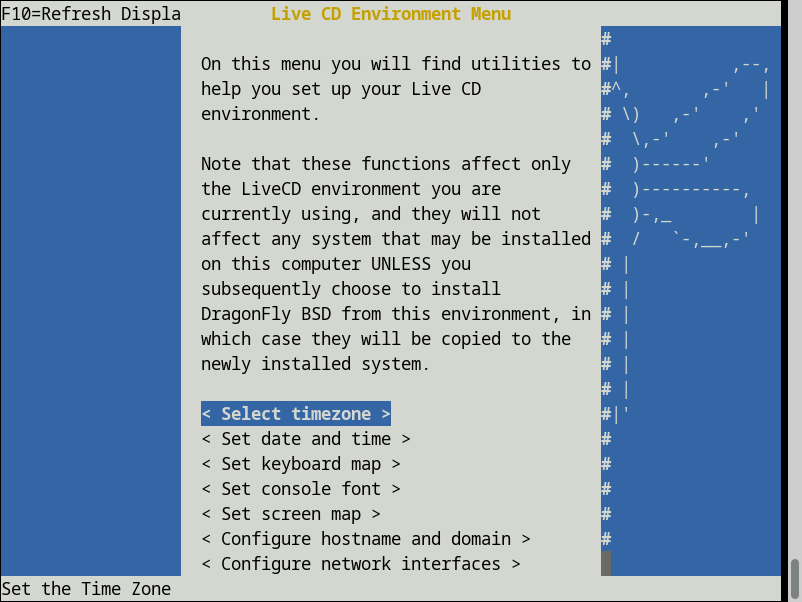
The Live CD Environment menu features the same options does the post-installation configuration menu - minus the options to set the root password or to add a user. This menu can be useful if you for example want to change the keyboard layout (e. g. because otherwise you might not be able to correctly type the slash character, which is quite unfortunate when defining the mount points!).
This window is also longer then what fits on the screen. It will scroll just fine, but I think that some kind of indication that there are more options below would be very useful. (Yes, a scroll bar is present to the right of the window - but it's very hard to see if you don't know that it's there!)
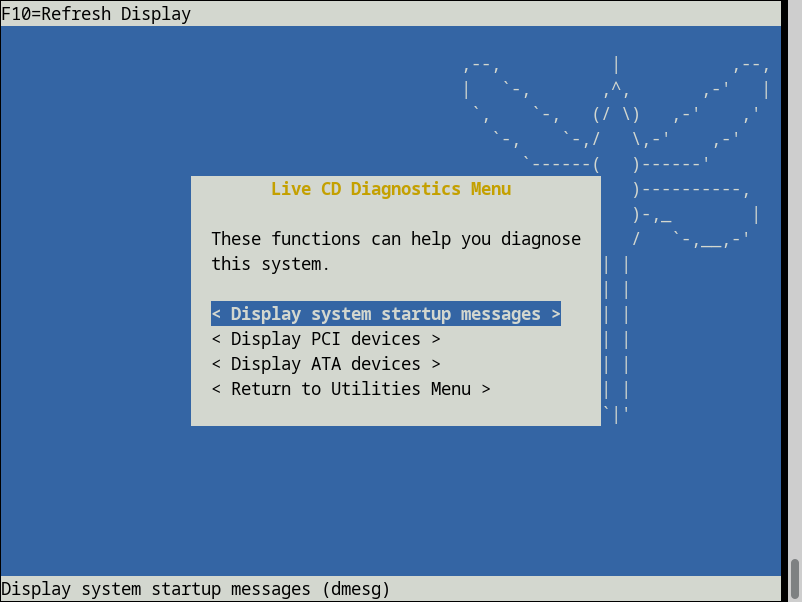
From the diagnostics menu you can view the system message buffer ("dmesg") or list the PCI or ATA devices that the kernel recognized. This can be very useful to determine if the machine you are trying to install on is a good fit for DragonFly BSD or not.
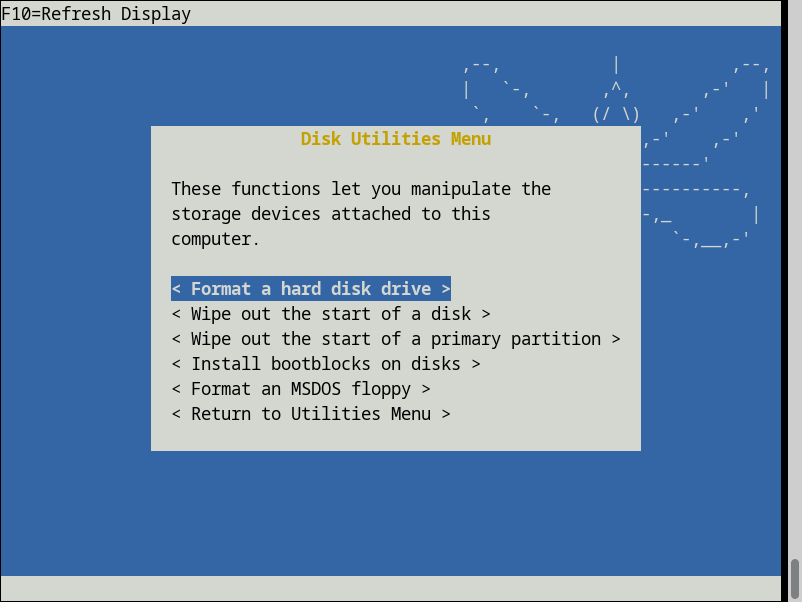
Lastly, the disk utils menu allows for "formatting" (partitioning) of a disk, wipe out the start of a disk or primary partition on a disk, install the bootblocks or format an MS-DOS floppy disk.
This is obviously one of the more obscure areas of the installer. Especially the last option probably hasn't seen much use in ages; DragonFly BSD supports only the amd64 ISA since version 4.0 released over a decade ago and such machines almost never have floppy drives!
But the wiping options also scream "MBR" and are thus more or less obsolete as well.
Installing the OS
The message about limitations of the installer and backing up data before proceeding is the same as before ...
... but this time I decided to let the installer display the help text that is offered here. Well, two of the three points about when to install manually rather than use BSD Installer are relics of a pre-GPT age. There certainly are more common use cases today which the installer does not cover. So maybe this text could be adapted?
Next is the boot type selection dialog. I would have liked to show off BIOS, but this is not well supported by my hypervisor. So UEFI it is - no stone age today! It might be worth mentioning, though, that selecting BIOS makes an advanced mode available for subpartitioning. It allows for setting options related to UFS.
Disk selection is also the same as before.
As is the data loss warning window ...
... and the "formatting" confirmation.
Of course the filesystem selection is the same as well. However this time I decided to not use one of DragonFly BSD's most notable features and opt for an installation on good old UFS!
I assume that it's related to selecting UFS, but for the subpartitioning only three partitions are suggested (leaving out '/build').
This time I decided to try out adding a custom partition to be used for /home. Also, since the installer supports it, I opted to have it encrypted for a change.
Selecting encryption reveals a new window that we haven't seen during the previous installation. The explanation text includes the "LiveCD" typo again. It's great that it reminds the user about the keymap being US by default. However it pointing at kbdcontrol(1) (and thus to leaving the installer to change the layout and then returning) is weird. Wouldn't it make *much* more sense to explain that the keymap can be changed by using the "Live CD Environment" menu?
I'd say staying inside the installer is preferable to having to quit it for such a common task as changing the keymap. Of course it would be even better to place a button here that would open the keyboard selection menu!
After inputting the passphrase twice, the installer creates the filesystems ...
... and then the encryption fails unexpectedly! I thought that this might be related to me picking UFS. So I tried again using HAMMER1 but ran into the same issue, unfortunately. Eventually I decided to move on without encryption as I don't particularly like LUKS, anyway.
The good thing about hitting this error is that it allows me to show off something else. The authors of BSD Installer obviously thought ahead and implemented error handling. The issue I had has been covered and the message includes a very sensible recommendation.
While I changed the filesystem to HAMMER1, I stuck with the partitioning that I prepared earlier. This triggers another information which informs the user that directories like /usr/obj will be on the root partition if none is created for '/build'.
Since the message about what to watch out for with very small volumes covers both HAMMER1 and HAMMER2, it gets displayed in the serial installation as well.
The final dialog window letting the user begin the actual installation or going back to subpartitioning is also the same as last time.
While we have also already seen the progress window, I managed to screenshot it with a system message printed over it. It's for cases like this and other glitches that the installer provides the function mentioned in the top bar: "F10=Refresh Display".
Like many others, the message that the installation has been completed is identical to what we've already seen at the end of the previous installation.
Post-installation configuration
Just like in the first installation, the the post-installation configuration menu is available, offering the same options.
This time I went with static IP configuration. The dialog window with its input fields is great for configuring IPv4. However there's two things that I noticed:
- The option to configure hostname and domain in this window is redundant. They can be configured in the next post-installation configuration menu item as well. And worse: if they are entered with the network configuration, the input fields of the other dialog window will still be empty! This can be confusing.
- The second button says "Return to Utilities Menu" - which is not where we came from in this case!
The confirmation message is also displayed after static network configuration. Unlike with DHCP however, this time the IPv4 address is displayed correctly, though.
And that's it! The other options work the same as before and there's not much to see there. The HAMMER1 installation can also be booted successfully.
Conclusion
The DragonFly BSD installation is somewhat special. It is at the same time very streamlined and overly verbose. For example it's the only BSD operating system that does not let the user select which distribution sets to install and which not. You get the whole system or nothing. It's also the only one that doesn't ask about the keymap right at the beginning. Many of the dialog windows are well designed and allow for all the necessary input in one dialog rather than splitting the same into two or three. This is very nice. However there are also various confirmation messages which are of doubtful usefulness.
For an operating system like DragonFly BSD which has an advanced filesystem (HAMMER), I'd call the storage options severely lacking. I found it strange that the installer didn't even let me create a simple software RAID - nothing fancy, just a mirror. I wondered how you set this up in DragonFly BSD. Well, the answer is: you don't! I even asked a DragonFly user, and it seems like people either use software RAID at the BIOS level or hardware RAID - or they come up with different storage strategies. DragonFly BSD ported LVM from Linux and that theoretically has RAID functionality but seems to not really be tested. There's also vinum from the old FreeBSD 4.x days which is still available, but it's ancient and not exactly fun to use.
So a lack of flexible storage options is *not* BSD Installer's fault but simply not an area where the small DragonFly BSD team has been doing much work on. I like the installer quite a bit. It's both easy and pleasant to use - for the most part. There's some signs of neglect in the more dusty corners, but that's mostly small issues. The only bigger issue that I found was encryption not working for me.
Of course even with a good installer, there's usually things that can be improved further. I've made a couple of suggestions. Here's another one: Returning to the post-install configuration menu after setting any option always highlights the first option. While the list is not terribly long, most people will want to set all of these configuration options and thus having the menu remembering the previous menu item position would save several key strokes. This is a very minor thing but still a potential improvement worth mentioning.
I wonder what BSD Installer would have evolved into if FreeBSD had adopted it. Its modern bsdinstall is not half bad, but DragonFly's clearly has the better UX and "flow". Unfortunately that's the trouble with "what if": We'll never know. Still I hope that DragonFly BSD will keep improving their installer, as it's a good one despite a few flaws.
What's next?
Given the positive reception of this series, I plan on writing a "bonus episode" to conclude it. What will it cover? I'm not going to tell you, yet!