Garden Room Complete
Posted on 2025-11-08 by Nick Thomas
I sat down to write this post over a year ago and found it very difficult to get started. That ended up blocking other things I wanted to write about, but, finally, I found to motivation to fill this one in.
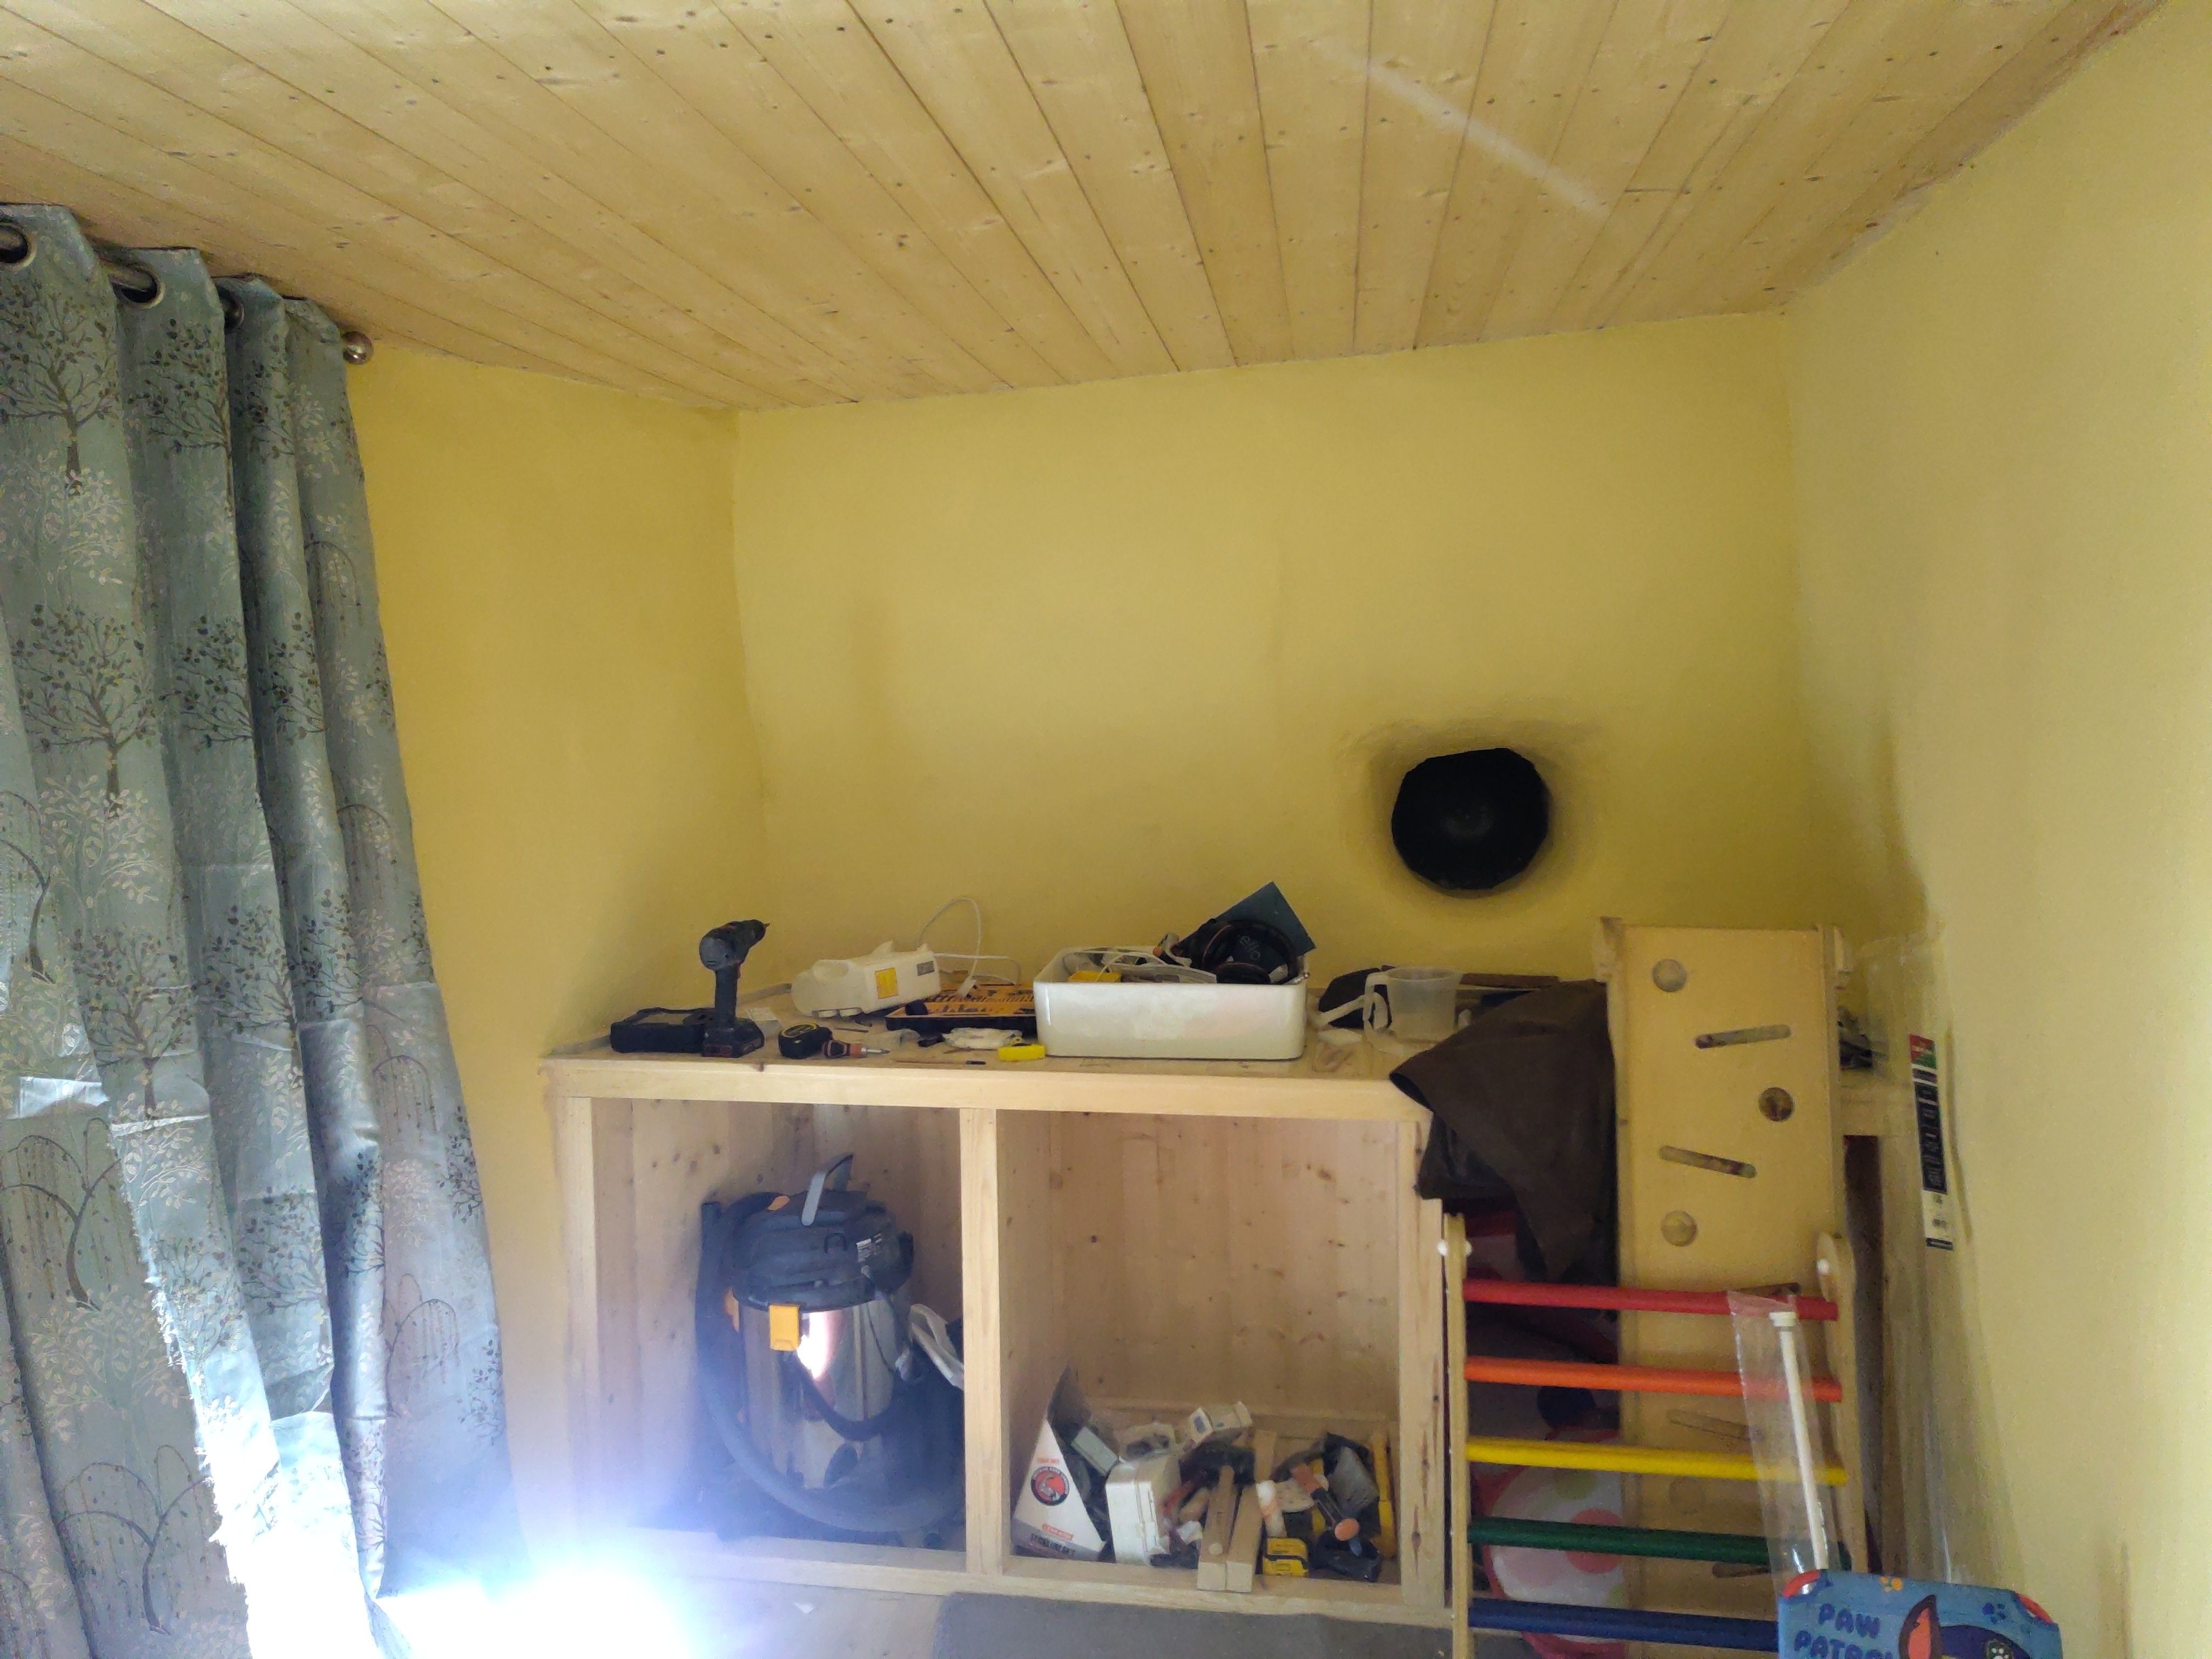
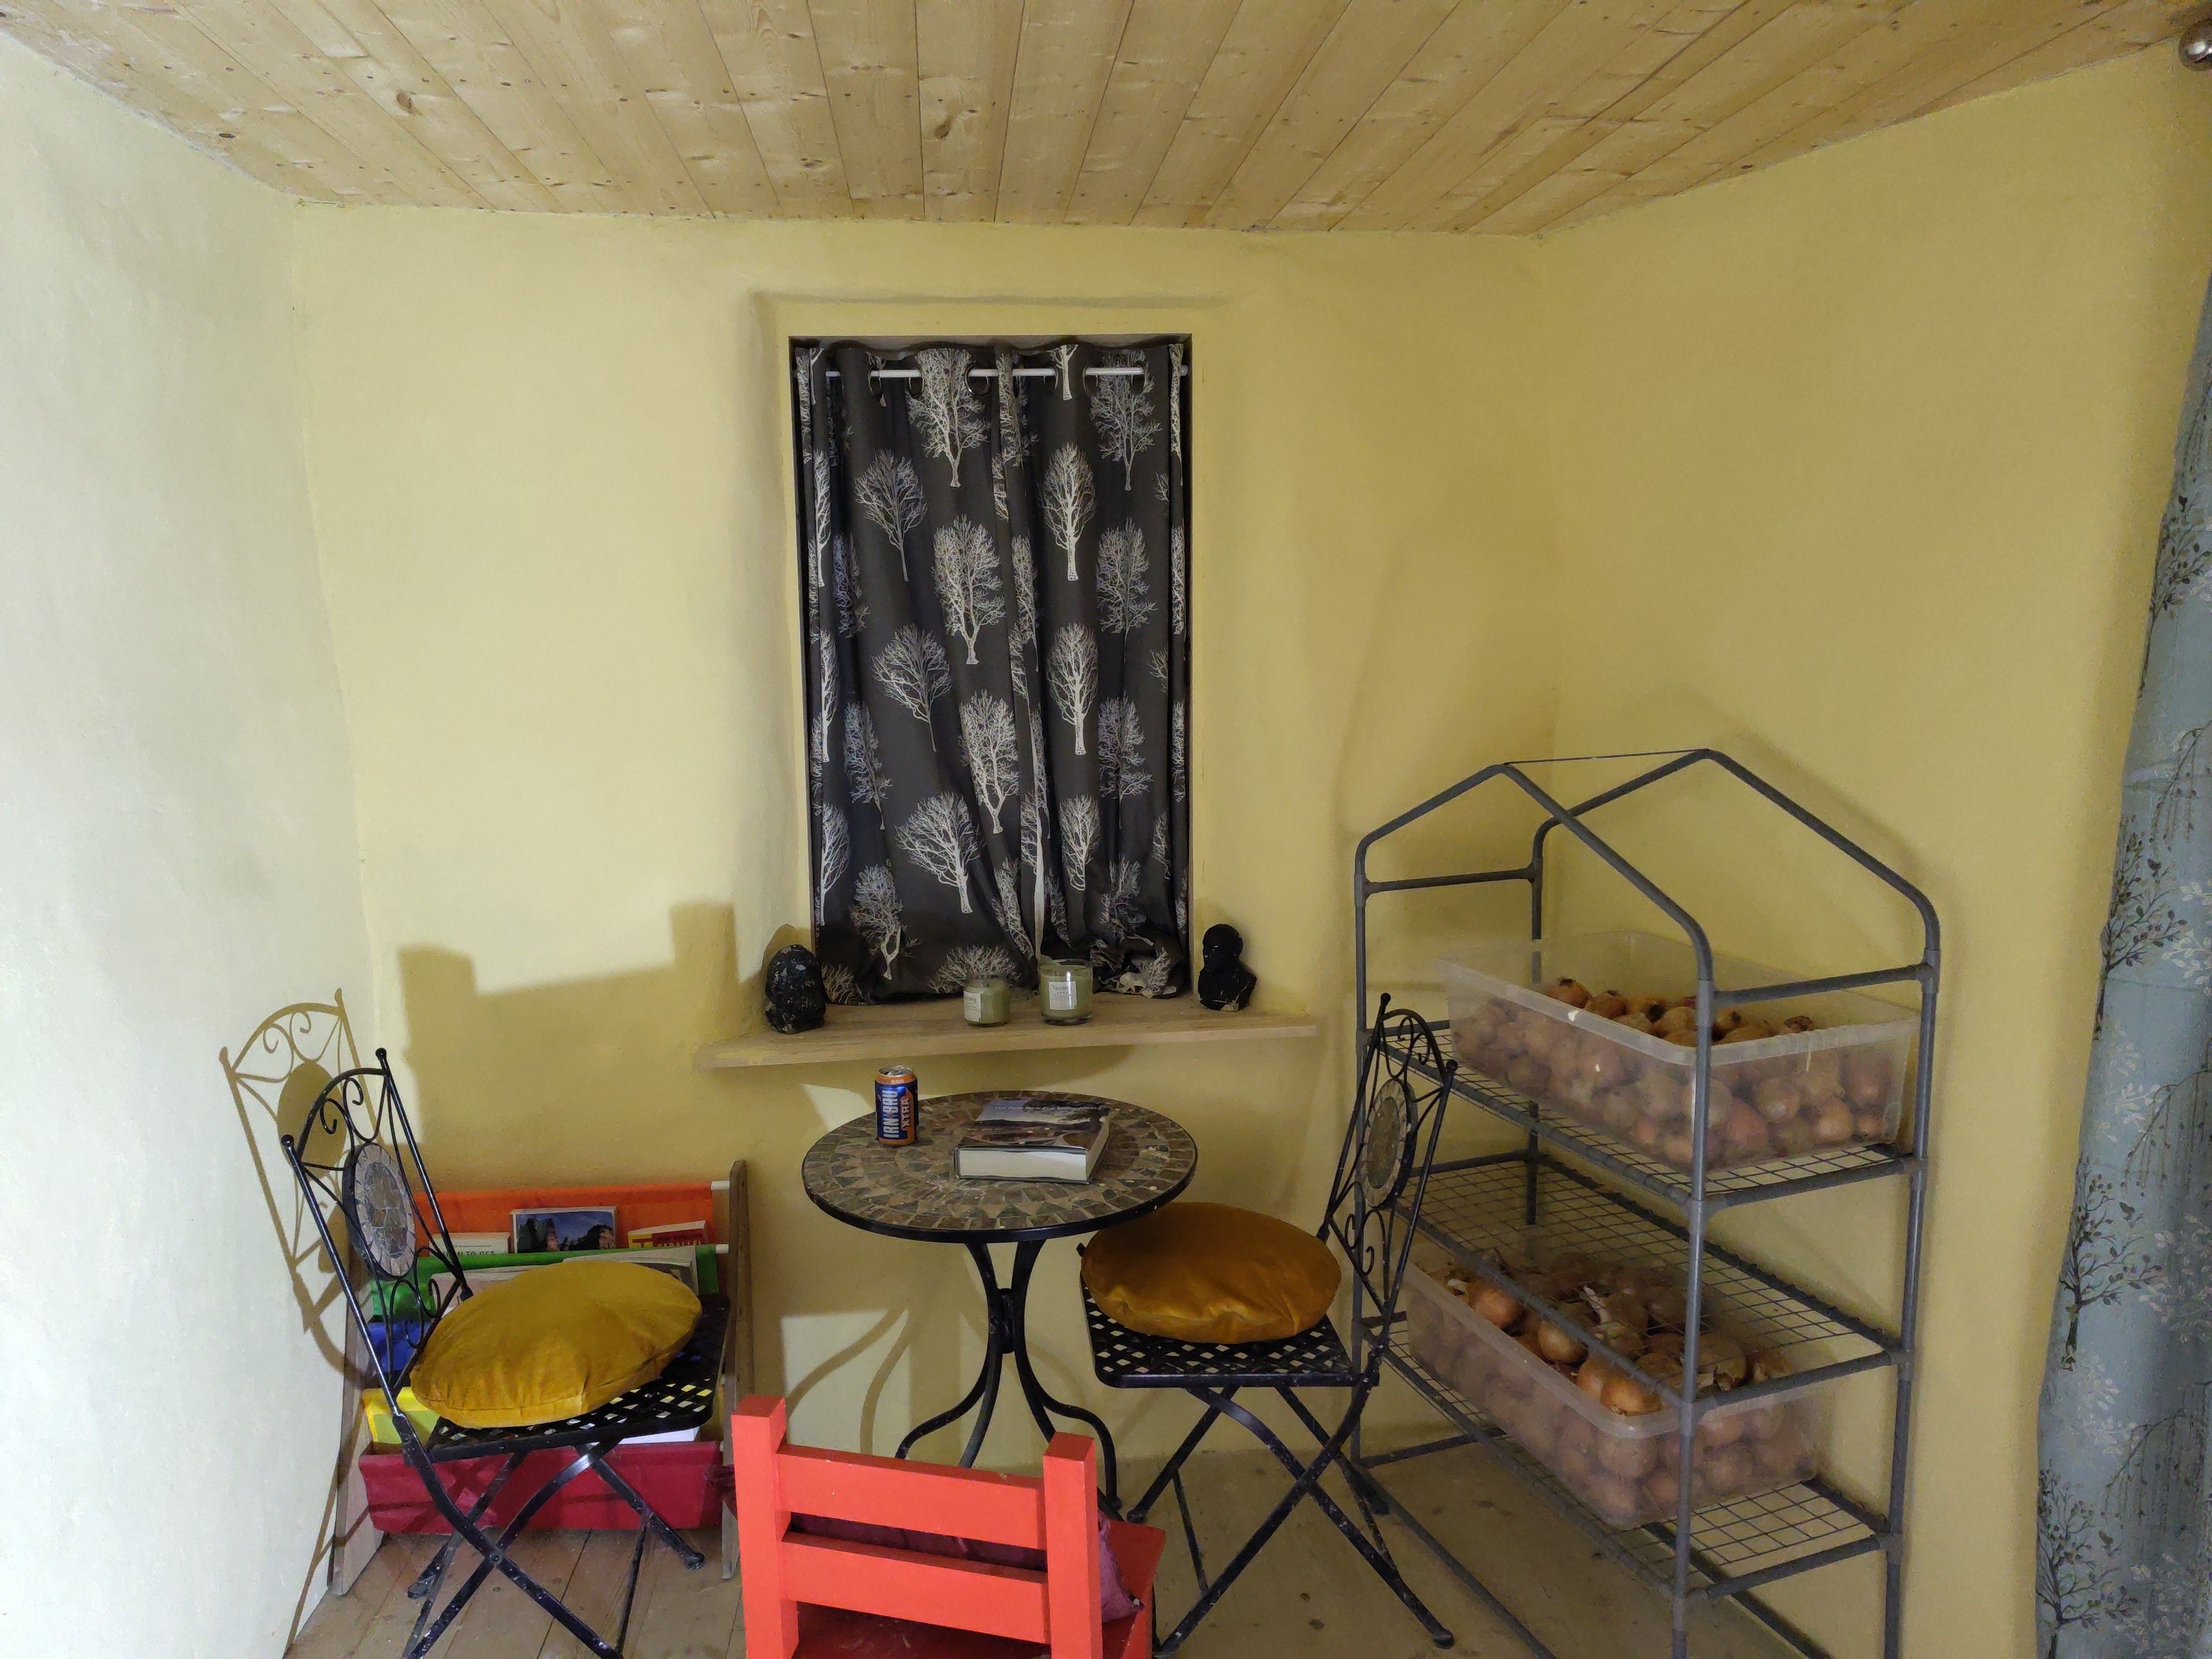
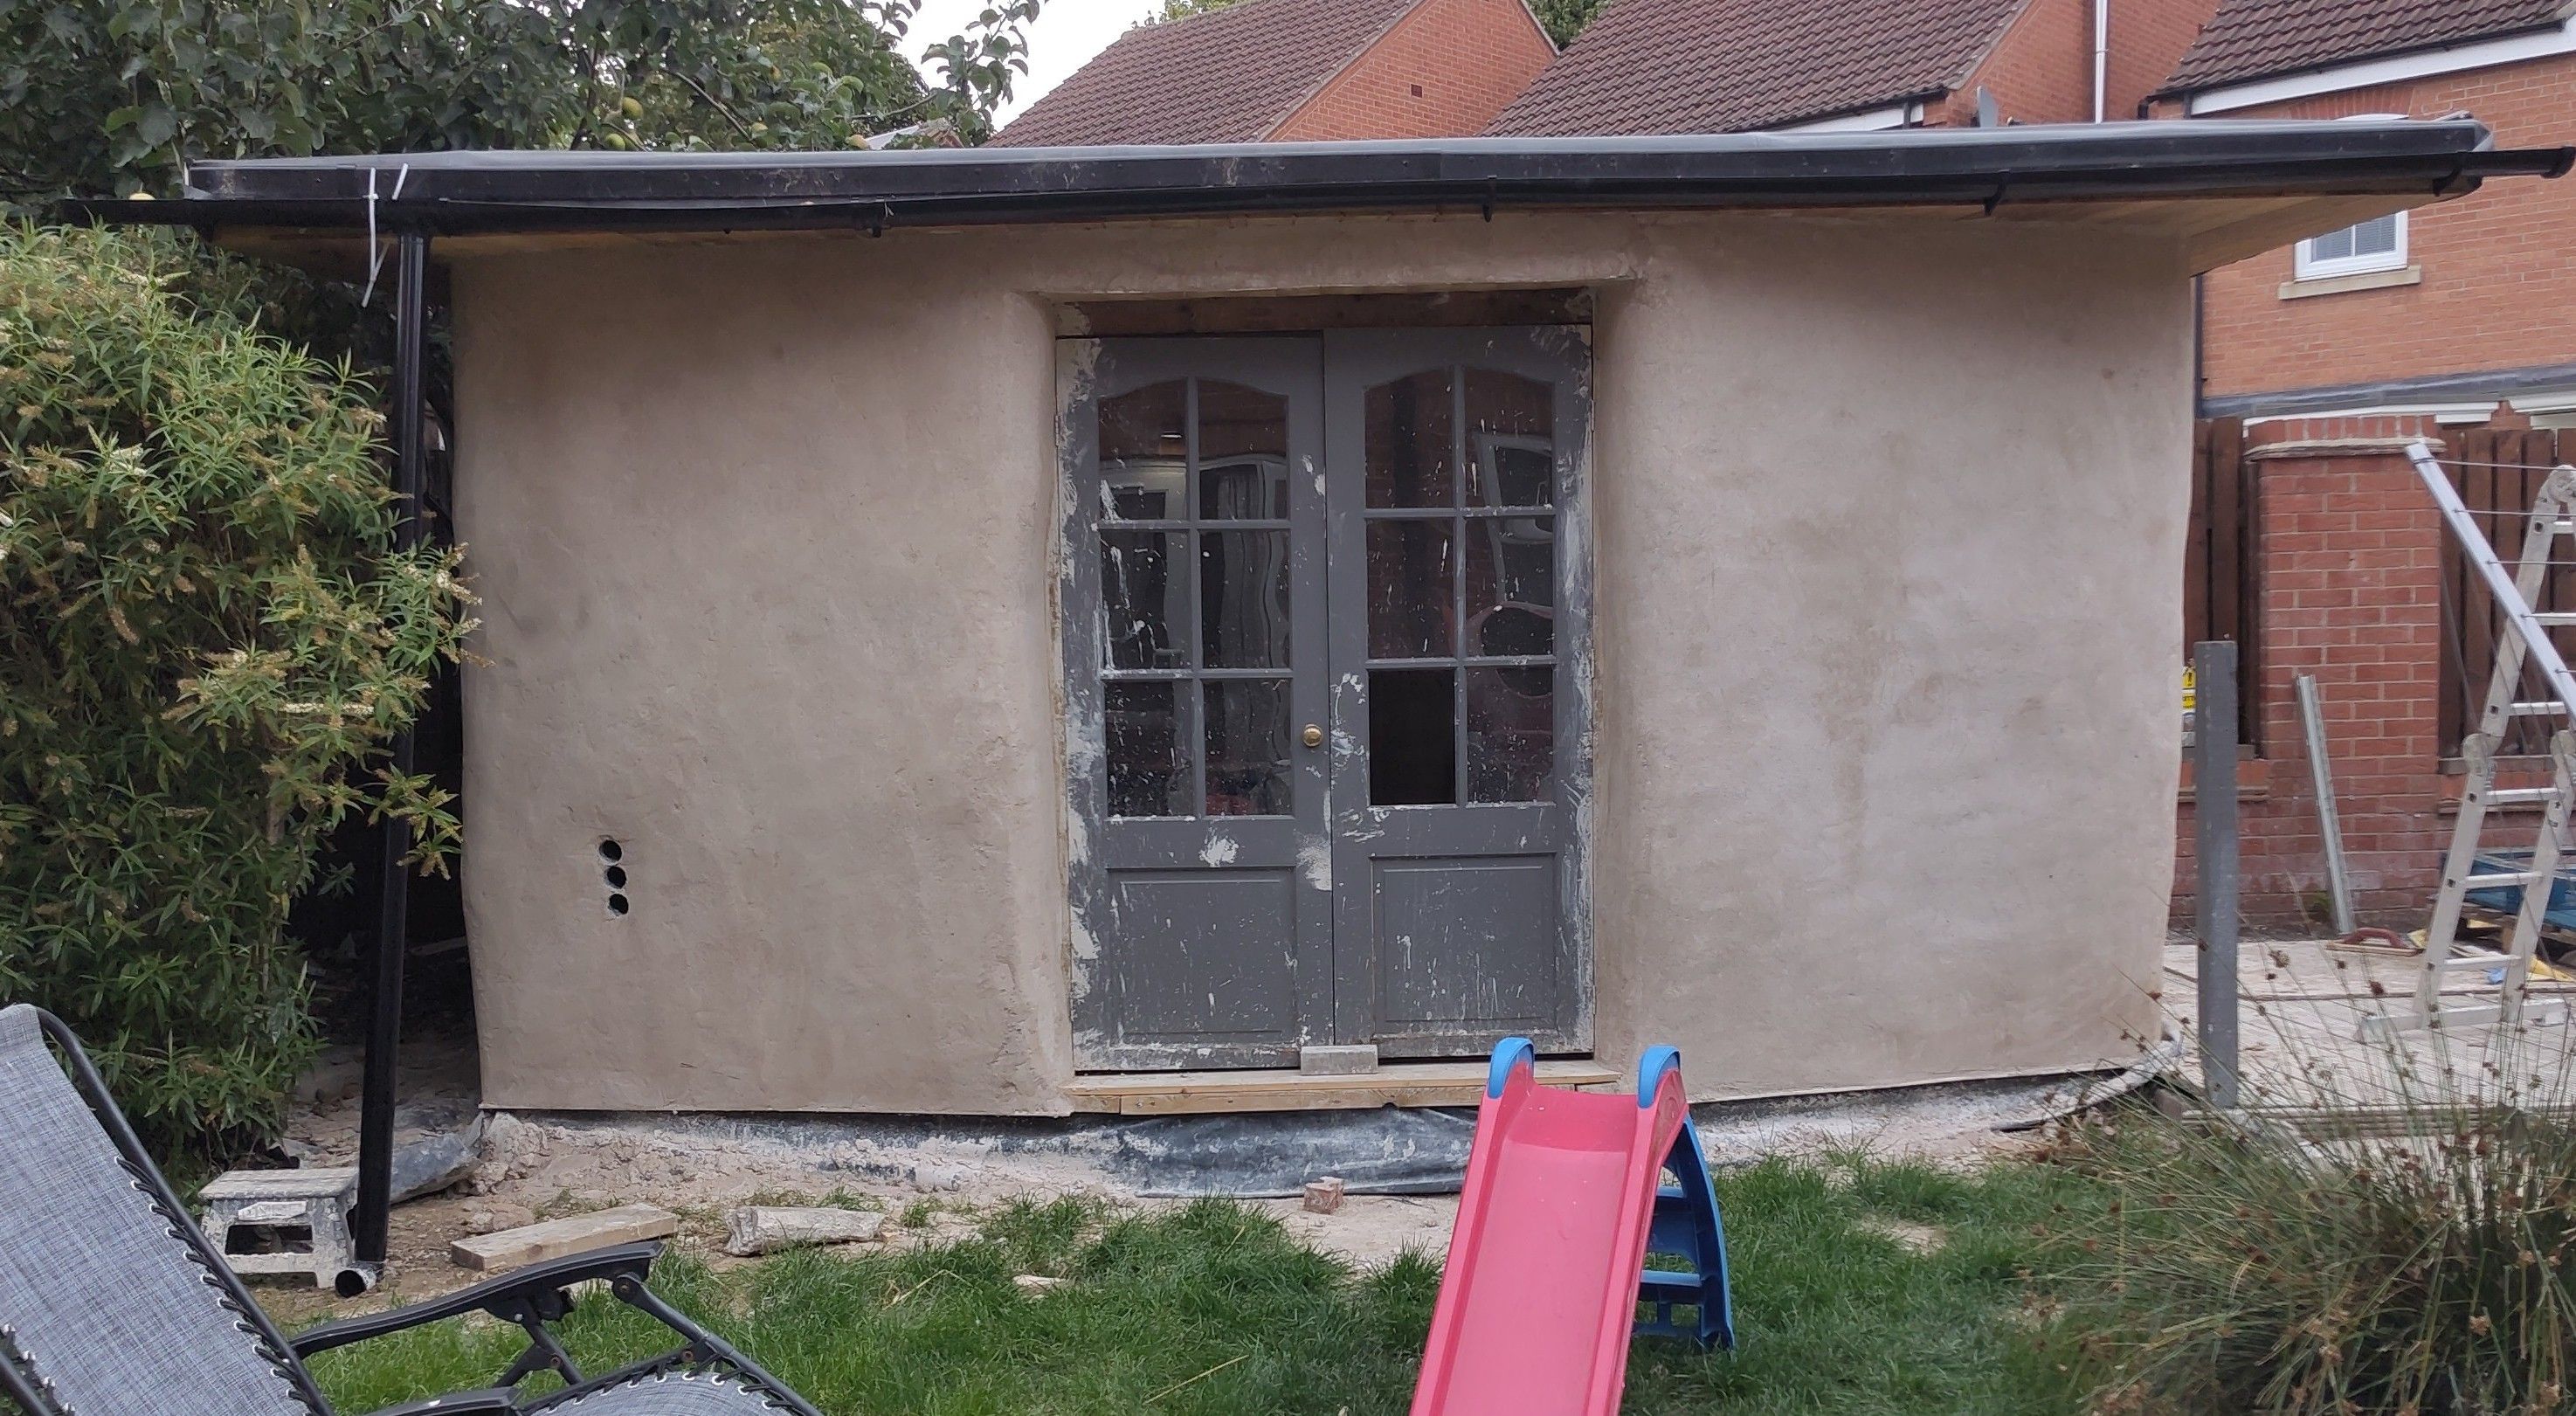
The garden room is done! Since I finished it last September, we've made good use of it as a place where the baby can have his own space, as well as somewhere I can store roots and wood and books. It has power and a sofa, chairs and a table, and I built an integrated worktop along the north-west wall. Outside remains unpainted, but inside is a lovely bright yellow. I haven't plumbed in the sink yet, and perhaps I never will.
About three tonnes of sand and a tonne of lime went into the rendering and plastering of the walls, in the end - far more than I'd expected. It was hard, heavy work, and I managed to give myself tendonitis - of the foot! - twice while getting it done, along with innumerable lime burns. I bought a cement mixer, which helped enormously, but meant I had to work quite large loads at a time - and my technique was ever so slow.
I've also remodelled around the outside of the garden room a fair bit - built edging and raised beds with railway sleepers, then laid a new lawn along to the south-east side. I've still got to put in an actual path up to the garden room itself, replacing the old lawn, and there's another raised bed to build as well, but it's looking nice. I've got onions in the existing one, just so there's something happening over winter.
The windows were something of a triumph in the end - the plastic "bubble" window in particular looks amazing from the outside, while the other is a perfectly serviceable wooden window, which I ordered to size and was a breeze to fit. Next time, though, I'll order the window pre-painted... it was a real pain to do. I even fitted a windowsill, using furniture board.
The bubble window is just screwed to a circular-ish frame I made from offcuts of wood. It's pinned and strapped into place, and is made of 12 pieces, each cut at an angle and then glued to each other to form the circle. Cutting those angles was the biggest challenge, and my tools limited me here - I would have preferred the wood to span the full depth of the wall, but I just didn't have the kit to apply the requisite angle along a 450mm edge, so I made do with a shallow sill which I rendered up to.
I'm not going into great detail on the process of rendering, since it was a while ago now, but briefly - I realised the walls were still pretty out of whack, so spent some days "persuading" them and trimming straw until they were fairly level. Particularly anywhere there was strapping, I tried to minimise the amount of gapping between wall and strap. I fitted particleboard all round the roof beam, which is supposed to help with airtightness. Junctions between wood/particleboard and straw were then covered over with stainless steel blood lath to give a key for the render to stick to, held in place with some expensive stainless steel screws + washers. The bottom of each wall got a plastic render bead, fixed in place with more of the screws.
There was a void in the wall at the front, where I'd messed up placing the bales and just couldn't get them to go flush to each other. Filling it with straw didn't work so I ended up making the most of it and installing some drainpipe. These became "service ducts"! The power cable and water pipes are to go through them, instead of having to make holes in the walls.
I got two coats of render on, inside and out, using coarse sand mixed with St. Astier NHL3.5 and coir fibre for tensile strength, and going ridiculously deep with some of the filling. Each of these got "scratched up" after application, to allow the following coat to stick. I managed to take much of the remaining curve and waviness out here (but certainly not all, and the corners are all over the place). While curing, I hung hessian sheeting up around the outside and misted it vigorously; the inside was left more to take its chances.
Those two coats used up all the lime I had, so I went and picked up more, and got a tonne of fine sand for the topcoat. This was much more stressful to apply since it had no fibres, didn't stick as well, and had to look sort-of-neat. Once it was on and dried, I painted using "Farnovo" paint, which comes as a dry powder, plus pigments, to which you add water.
In between first and second coats, I built the integrated unit, starting from rough lumber which I planed smooth - very fun. The worktop was made from floorboard offcuts and the whole thing put together with pocket screws. Quite pleased with it. It also reduced the amount of rendering I had to do significantly - although the first coat was still important for fire resistance, it meant only half of that wall needed the second and top coats.
Pictures? Of course! Not exactly chronological.
Other jobs to do include putting some sort of doors onto the integrated unit; painting the outside, probably with a silicate based paint (or failing that, just limewash); the floor needs re-sanding and every piece of wood in the whole thing needs oiling.
Ultimately, while the extra space is welcome, I did this to decide whether straw bale building was a good option for a future self-build of a whole house. The answer I've arrived at is: not really! This specific building approach, where the bales are load-bearing and you coat everything with lime, is about as low-tech as you can make it... which implies swapping technology for labour. It's great if you have huge amounts of free community labour to work with, and an ulterior motive of building community through shared experience, but if you just want a house, let some technology in.
Particularly, prefabricated panels - which can still use straw for insulation, as modcell or eco-cocon do, give you level walls every time without needing to faff anywhere near as much as I did. Having things off level makes everything very hard. There are now lime-based plasterboard sheets which can be used internally, to give a good finish without sacrificing breathability, in much less time and with much less mess. The foundation was a real learning experience, and I'd do them - and the box beam - as a poured strip foundation plus stem wall any day of the week instead, next time.
But I learned a lot, amassed a lot of tools and experience, and the space is functional - great project, 10/10 for style. My neighbours, however, have all decided I'm mad for taking it on.
Questions? Comments? Criticisms? Contact the author by email: gemini@ur.gs